Blog Archives
Garlic dill pickles
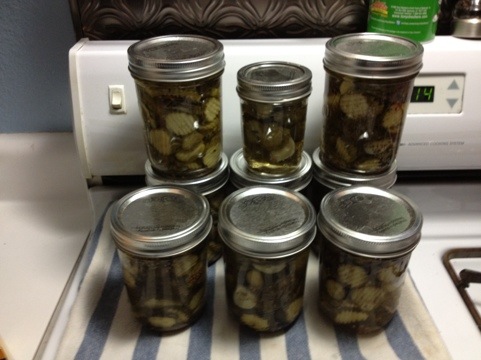
I made these yesterday, and wrote the post yesterday. I wanted to taste the pickles before posting. In case your wondering they are yummy.
Here is an important thing to remember. I love pickles. LOVE. Big shouty capital letters love pickles. We regularly make fridge pickles. Basically fridge pickles are what happens when you follow the following procedure up until the point of the hot water bath. They are usually ready to eat within 3 to 5 hours of putting the lid on the jars.
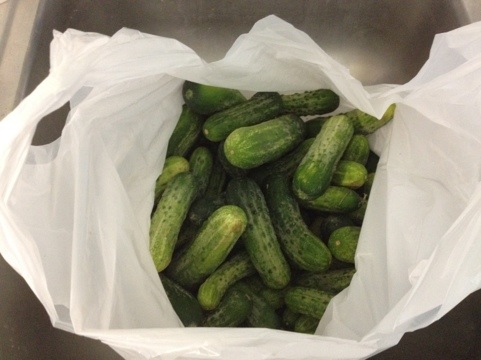
That is a bag of what is referred to as pickling cucumbers, or Kirby cucumbers. They are smaller, more bumpy, and quite honestly different than what is considered to be a salad cucumber. They have less noticeable seeds and a lower water content. I have also seen them referred to as salad cucumbers here in central Texas.
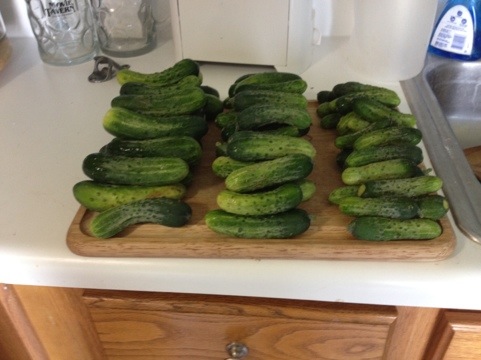
These were purchased this morning at Barton Creek farmers market, it’s about 5 pounds of them separated into “large” medium and small size. Size terms in reference to pickling cucumbers is relative I personally would not purchase a pickling cucumber that is larger than 6 inches.
The small size pickling cucumbers which are very close to what it’s called a gerkin I used to try an experiment in making sweet relish. I’m going to post on that experiment later, but I will say I did the process in reverse order.
But, back to garlic dills
Whenever I make pickles I’ve always made sliced pickles I’ve never really made spears. The reason for that is when making fridge pickles you want a thinly sliced cucumber that will pickle very quickly in the vinegar brine.
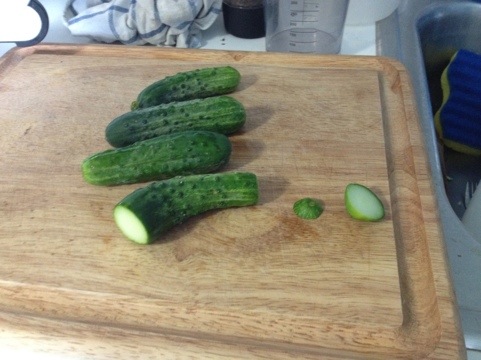
I start by slicing both ends off of the cucumber, come to find out later that is part of the reason I’ve had such success in making pickles. The end of the cucumber that was attached to the bush and has the blossom on it contains an enzyme that will cause the cucumber to make mushy pickles. Grape leaves inhibit this.
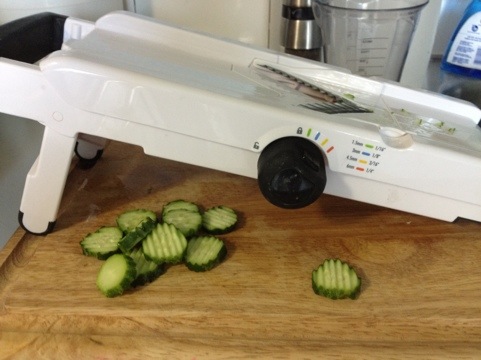
When slicing the cucumbers I use a mandolin slicer with the wavy blade. In my own opinion this increases the surface area and and promotes quicker pickling especially in fridge pickles. For pickles that will be going through a hot water bath for proper canning I sliced them thicker then I would if I were simply making fridge pickles.
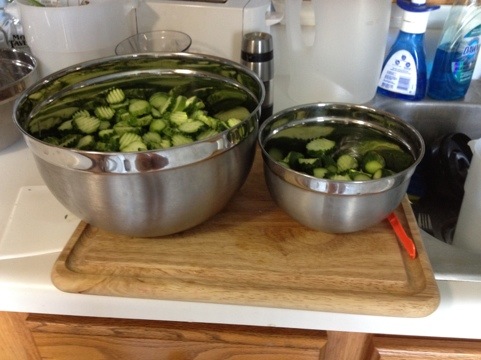
The larger bowl is the sliced cucumbers that will be used in canning the pickle, the smaller bowl is the nub end of the cucumber that was no longer safe to slice on the mandolin.
Here is where I went wrong. In the future I would use those nubby ends to make relish. This time I used the ends
to make pickle chunks. If I had sliced the small cucumbers and saved the ends the way I did on the others I still would’ve had enough cucumbers for the relish recipe I’ll post later. That is the reason I’m posting about the pickles first and the relish later, don’t follow my mistakes.
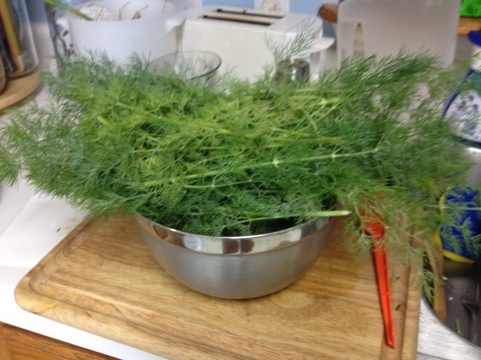
I harvested as much of the dill as I could while attempting to preserve the flowering head that are coming up on the plant.
Take the sliced cucumbers and began to place them in the jars about halfway up in a clove of garlic and some of the fresh dill.
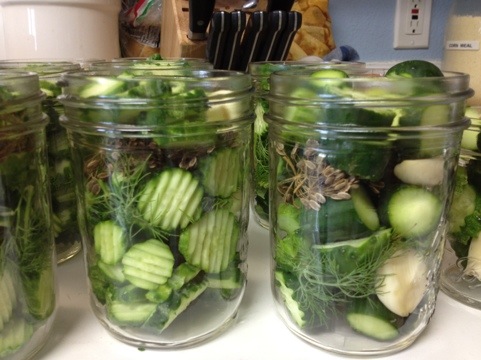
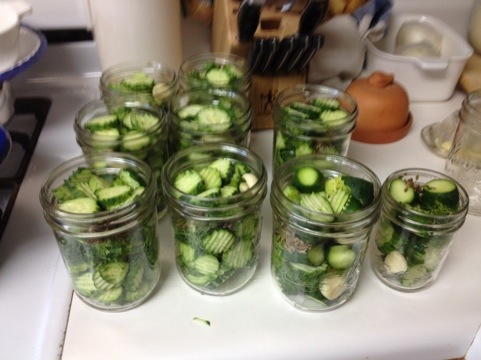
These are the jars once they are packed. You want to get as many cucumbers in the jar as you can and then push them down, not to the point of bruising or squishing any of the cucumbers. But, you want to get as much airspace out of that jar as you can before you add the pickling solution.
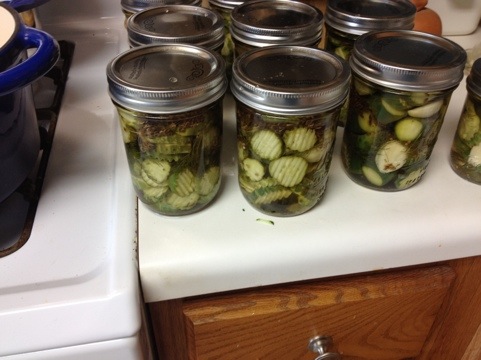
These are the packed jars with the pickling solution poured over the top.
At this point you’re probably saying awesome how do I do this?!
First take a second to visit a recipe at food in jars.
Copied and modified from Food In Jars post. The dashes are modifications, all pepper was omitted. I don’t like heat.
Garlic Dill Pickles
Makes approximately 8 pints (total yield varies depending on size of cucumbers)
-about 4 lbs pickling cucumbers, ends removed and sliced at least 3/16th inch thicko
– 3 cups apple cider vinegar
– 2 cups plain white vinegar (make sure of 5% acidity *
– 5 cups water
– 7 tablespoons pickling salt
16 (plus some) garlic cloves, peeled (2 per jar)**
– I used about 4 heads of fresh dill seed per jar. {1 teaspoon dill seed per jar (8 teaspoons total) if using store bought dill seed, if so don’t feel bad this is what I have used every other time I have made pickles, today I was lucky enough to have someone hand me fresh dill seed heads}
– 1 tablespoon celery seed
– 1 tablespoon mustard seed
Some housekeeping notes:
I use an 8 quart stainless steel stockpot for water bath canning. I use it because I found it at a Ross store for less than $20. Also, it won’t react with the vinegar.
I used pint widemouth jars for a these pickles. With one widemouth half pint jar for the remaining cucumber ends. I have worked in food service before and I understand the need for sterilization, and food sanitation. To sterilize the jars for canning purposes I use my dishwasher on a heat dry setting. I put the jars the lids and the band into the dishwasher for a full cycle. If you do not have a dishwasher boil everything for at the least 15 minutes. This is not a step that you can skimp on or halfway to do. If you have never looked up what botulism is please take a moment and do so now. It’s not funny and is not worth you slacking off that part of the canning process. If it seems like I am over stressing sterilization please understand that I work in a field where I encounter the aftermath of food borne illness on a regular basis.
After packing the cucumbers, and adding the pickling brine that has been brought to a boil make sure that the lid of the jars, the pink or red rubber seal is moistened before placing on top of the jars. This allows a good contact field before you loosely screw on the band.
(In case you’re wondering what I’m talking about when I say the band there is the glass jar there is the flat lid with a a rubber coating around the edge, and then the screwtop circular piece that circular piece is the band. I’m harping on these points because this post is aimed at someone who has never canned something to food storage specifications. If properly canned these pickles can sit on a shelf without refrigeration for a year or better. I recently ate some bread and butter pickles that I had canned two years ago.)
Place the sealed and loosely screwed jars into the hot water bath for exactly 10 minutes. If you purchase a basic canning kit that is available at Walmart it will come with a pair of jar grabbers, a jar funnel, and a headspace measuring tool. These are all very useful especially the jar grabber.
Once out of the hot water bath allow the jars to come to room temperature. Push in the center of the jar lid if you hear a popping noise stick that jar in the refrigerator immediately. That popping noise means the jar did not seal correctly in the hot water bath and is not safe to leave out at room temperature. You’re not always going to get hundred percent perfect seal rate when canning. In fact for me today that little half pint jar of pickles and did not seal, it is currently sitting in my fridge and is going to be what is known as fridge pickles.
If at this point you’re still reading and still intrigued please understand that this is not as daunting at the task as it seems. If you don’t have the materials to do the hot water bath you can put the jars of pickles in the refrigerator immediately after they have come to room temperature with the boiling vinegar brine. Those are fridge pickles I would say that they are safe to eat as long as they are not discolored, moldy, or smell funny. If you can’t tell that what you’re eating smells funny that my dear friend is Darwin in action.
